OMG, I did it! I made paint!
Way to lead with the climax, right? 😊 Screw suspense, I’m too excited to build to it.

Here’s the thing – ever since stumbling upon Nick Neddo’s book on making organic art supplies, I’ve been itching to try making homemade paint. So much so, in fact, that I couldn’t wait for the half-pans I ordered to get here, which is why it’s good to be a repurposing, hording fiend. I made do with bottle tops instead. Hoorah!
Hold up a sec, I’m getting ahead of myself – I blame it on the excitement. Deep breathes, Robin, deep breathes. Ok, that’s better. Now let me walk you through the miracle.
A crumbling sidewalk brick had me wondering what would happen if I took a hammer to it. Would it fight back and resist? Would it crumble like my red wine will power? Could I do something with this? As in make paint? Low and behold, it was super soft and gave way immediately into powder which I ground even finer with a mortar and pestle. So, of course, I had to make paint. When life hands you pigment, put it to use!

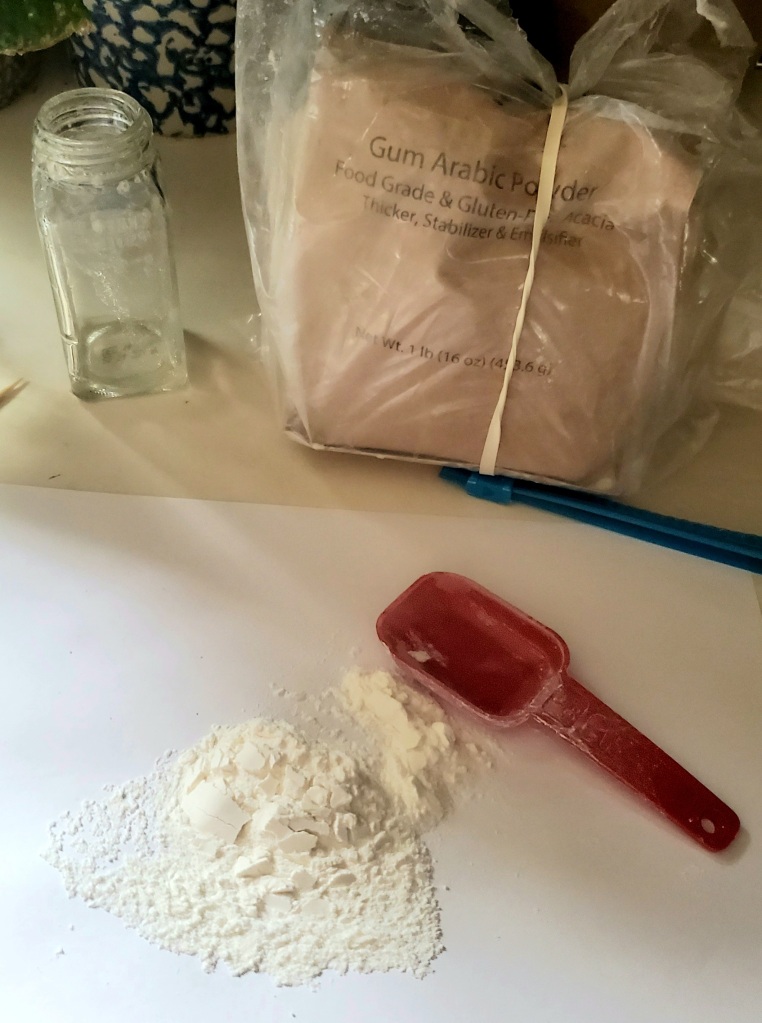
First off, I boiled some water for a cup of tea and to dissolve the gum arabic which acts as a binder for the pigment so it doesn’t all settle to the bottom of whatever you store your paint in. I bought the gum arabic for under eight dollars online in a food grade powder form which is handy because I don’t have to pound it or sift it or otherwise prep it prior to use. The preferred ratio is one-part gum to three-parts water so I measured it out by the tablespoon into a recycled spice jar, first the powder, then the water.
You really do need the water to be boiling hot when you dissolve the gum. I actually poured my cup of tea first, then measured out the gum into the jar, added the water and it had already cooled down enough that I ended up with clumps even after about five minutes of stirring. By the way, it’s really, really sticky. Be warned.
Next I stuck it in the microwave to bring it back up to temp, turned it on for 30 seconds, walked my tea over to the kitchen table and returned with five seconds left only to discover the entire contents had boiled over and out of the jar.
Oops.
Learning. It’s a process.
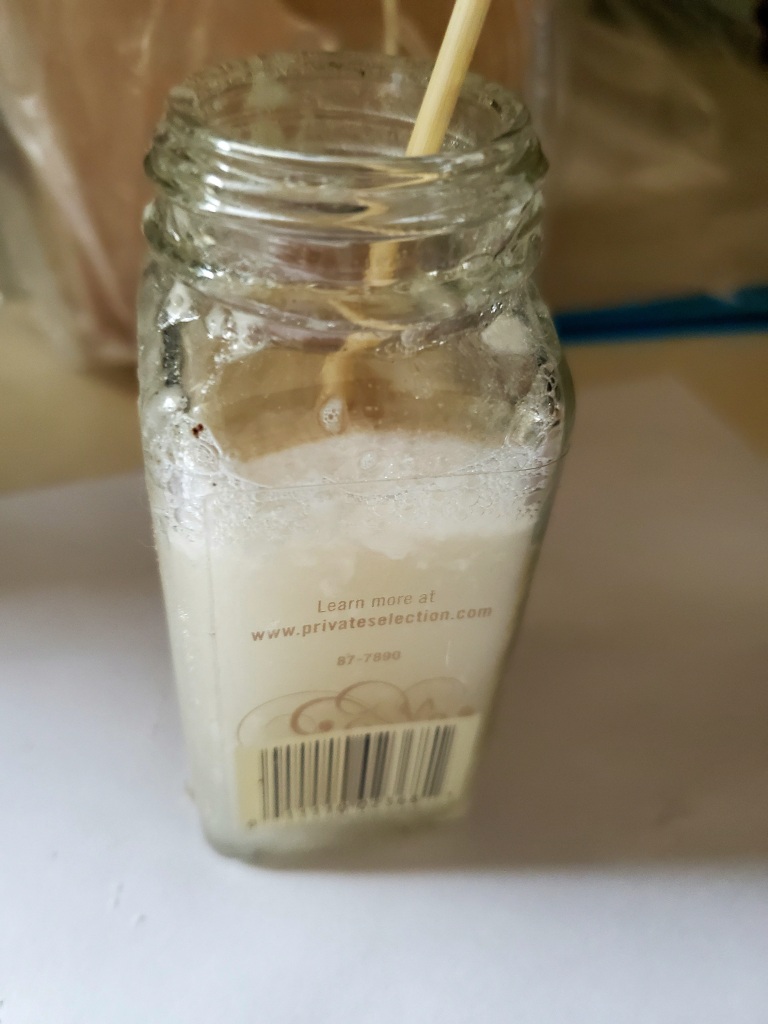
Second bottle, second try, better luck. This time I boiled the water and immediately added it to the gum powder. I still ended up with a few clumps but I watched it like a hawk in the microwave and only ran it for ten seconds at a time. Three seconds into my second go around it rose to the top of the jar, I stopped the microwave, removed the bottle (with a hot pad because, guess what, it was hot) and already I was happier with the results. The liquid was much clearer with no remaining clumps. Yay!
Next, I added raw, organic honey which binds with the water to help increase the flow of your paint. The recommended ratio is one-part honey to four parts liquid. I stirred it vigorously and ended up with a honey colored medium that smelled delicious.
I should have added a few drops of either thyme oil or clove oil as a preservative after the honey, but, unfortunately, I forgot this step – I blame the excitement – so I’m going to monitor the paint I created without it to see how long it lasts. I can justify my lack of precision here by calling it an experiment so, once again, lemonade will be made from lemons.
At this point I added my brick dust pigment to a plastic dish (recycled from an Evol Truffle Mac and Cheese dinner, yummy even if overprocessed), and it was time to start adding the liquid and stir.
Slowly I poured the honey-scented medium into the dusty pigment. Actually, it was that wonderful scent of honey that reminded me I should have added the thyme or clove oil and I immediately started looking for them in my soap supplies to no avail. Bummer.

Stirring with a pallet knife, I poured and scraped, mixing the pigment in slowly until I had the smooth consistency of a cream soup and then I poured it into my bottle cap. Miracle of miracles, I had just enough from the two brick chunks I pounded to fill one cap. A slur of grainy wash remained stuck to the dish and it made me realize that I do need to invest in a glass pallet and a muller. A muller is a mushroom shaped glass tool used to finely grind and mix the pigment with the binding medium. If I had one of those, I’m sure I could get that brick dust into even finer particles that will suspend better in the paint. But they aren’t cheap….

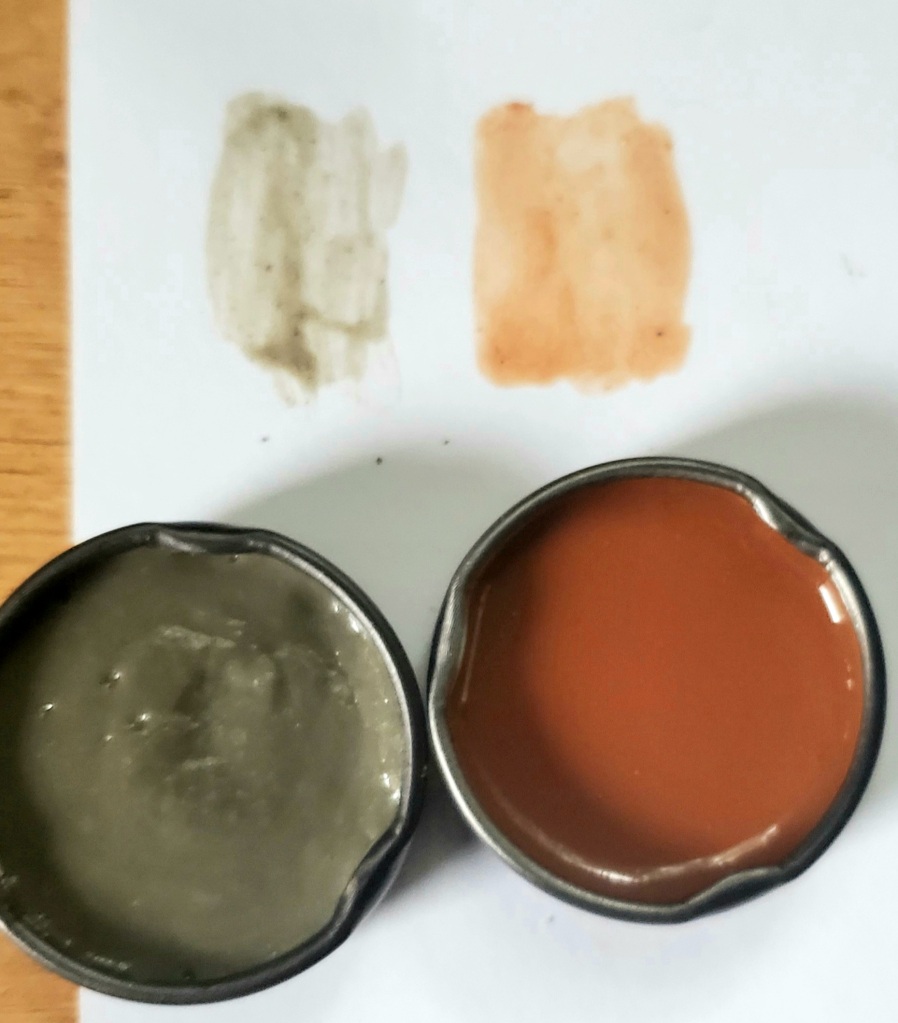
Regardless, I didn’t mind the rather grainy, organic look to the paint, and I absolutely loved the color. A quick brush test gave some satisfying results. Now it’s sitting on the table in my art studio slowly drying out under a north-facing window. Hopefully it won’t crack, but that remains to be seen.
I had so much fun mixing that little pan of paint I raided my soap-making supplies for some French green clay and gave it a try too. The result was a fairly warm, pleasant gray tone, but the clay powder proved to be much more absorbent and took twice the amount of liquid plus a lot more stirring to get it smooth. It’s also fairly transparent on paper.
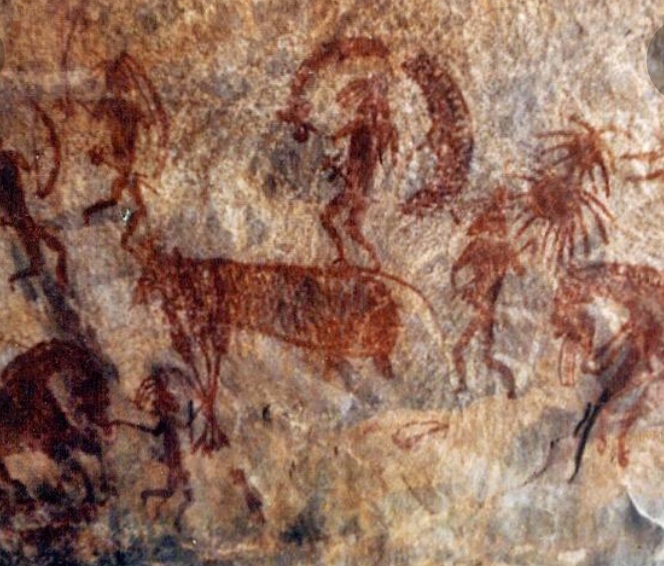
As for the brick dust paint, I’d say it has more in common with gauche than watercolor, but I’m ok with that. It’s paint, I made it, and that’s the point. Plus, the color reminds me of ancient Indian cave paintings and I really LOVE that!
Yes, I only have two small bottle caps of paint that may turn rancid in a week (I’ll keep you posted) and only one of them came from local pigment I crushed myself, but my organic art journey has taken a positive step forward while tying me to the past at the same time. For today, it’s enough, and I call that a win.
Happy painting!
- Robin

What do you think of limestone rock could you crush some of that and make a semi white paint ?
Get Outlook for Android
________________________________
LikeLiked by 1 person
I suppose if would it were ground down enough so the particles would be suspended in the medium. It would probably be fairly opaque. I have a chunk of black pumice I want to try next. I was hoping for a dark charcoal black, but a tiny test looks more gray than black. We’ll see.
LikeLiked by 1 person